
Attaching great featured images to your WordPress posts is key to grabbing the reader’s attention. The featured image is what typically shows up when someone shares your post on social media sites like Facebook or Twitter. Not only that, but the featured image helps to create a “feeling” to go along with your content. It can be the difference between your site feeling professional and trustworthy, and it falling flat.
But if you’re not a graphic designer or a photographer, it can be difficult to come up with a great featured image. Paying for apps like Photoshop can also be quite expensive, and so is hiring a graphic designer. While those are great options for larger companies with a budget for it, there are other great ways to get amazing images for your content. Here, I’ll share a super simple and effective way to create compelling featured images to go with your content. I’ll also share a way to optimize them for your website, all without expensive programs like Photoshop. Ready? Here we go!
The WordSwag App for iOS and Android
This is by far the biggest time saving app I’ve found when it comes to generating eye-catching images to go with my content. You simply type in the title of your post, choose an image, and the app lays the text out beautifully on the image. If you don’t have a huge budget to hire a graphic designer, and you don’t have time to do designs like this yourself, you’re going to love this app.
WordSwag has specific groups of word layout styles to choose from, so you can likely find one that fits your brand’s style, or at least one that comes close. You can also punch in your site’s colors (using hex codes) to make sure everything really fits your brand.
*To be clear, I am not getting any kickbacks from the WordSwag app for writing this article. It’s just truly a great app that I use myself and think you’ll find useful as well. In fact, I created the image for this post using the WordSwag app.

Check out some of their previews and grab the app for your phone here: http://wordswag.co/
The full version of the app costs about $5, which is way less than hiring a single graphic designer.
Now, while WordSwag is awesome for creating the image itself, it exports images at around 2 megabytes, which is way too large to upload onto your website. It will kill your loading speed time to have images that large. Instead, your images should be well under 1 mb each. The lower the better. That brings us to the next step.
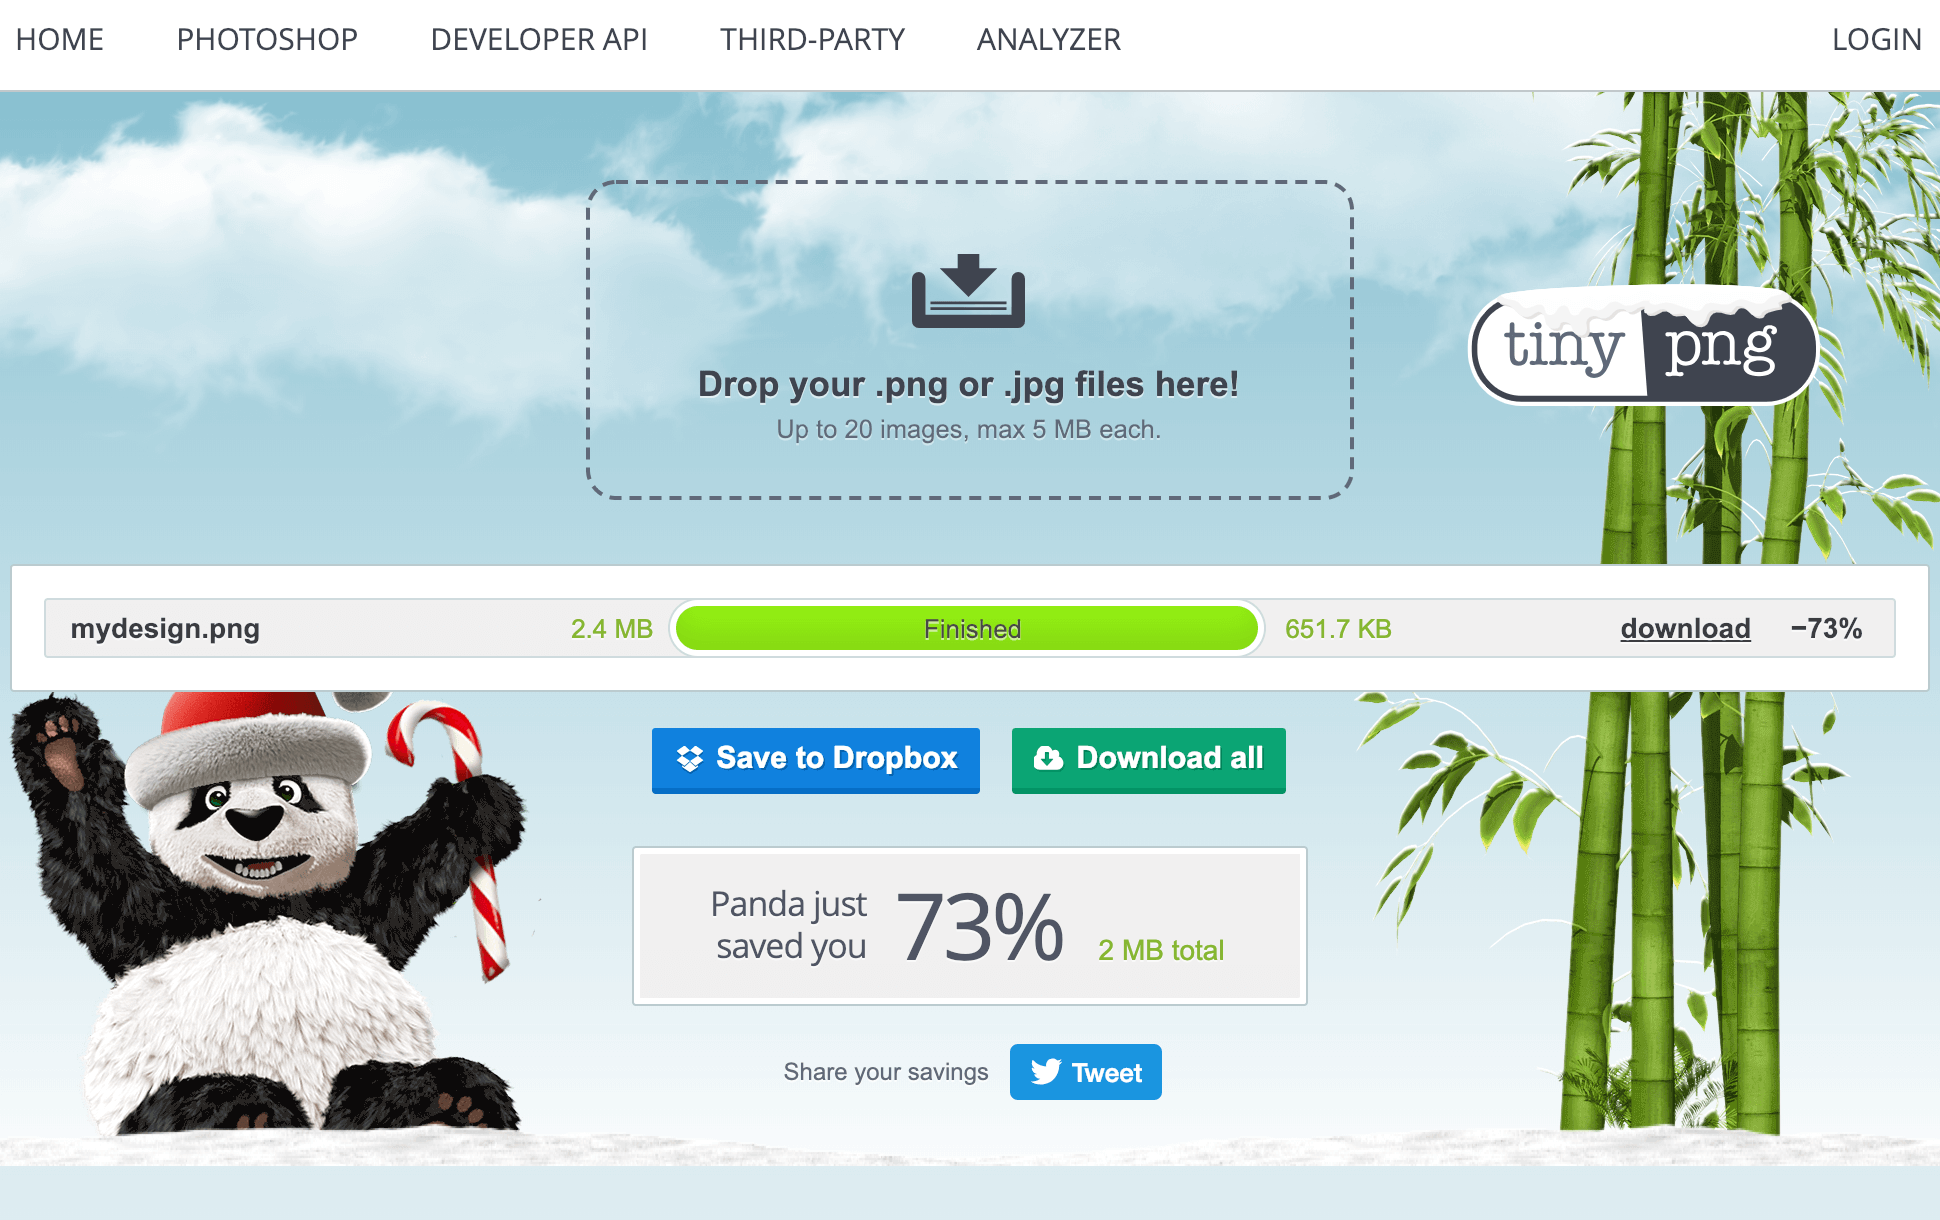
The TinyPNG website to optimize your images
Compressing and optimizing your images to reduce their filesize is a hugely important step in making sure your website loads quickly. Overcompress the image and it looks like garbage. Undercompress it, and it takes too long to load, resulting in people leaving your website.
The simple solution is a website called “TinyPNG” found at www.tinypng.com. It compresses images so well you can hardly notice they’ve been compressed. That is, until you look at the filesize drop. It can greatly reduce the filesize of your image.
So take the image you created with WordSwag, email it to yourself, download it, and then drag it into TinyPNG’s website to compress it.
Download the photo that was compressed by TinyPNG and upload it to your WordPress post as the featured image.
I hope these little tips will help you create better featured images for your WordPress posts! If you have other techniques, websites, or ways of creating great images for your blog posts that you’d like to share, leave a comment and let us know!